

 How do you like your zucchini?
And to my wonderful hubby, thank you for being a wonderful husband, father and provider for us. We love and appreciate you!
Your Girls


Here are the rules....
Post a link to this giveaway on your blog.
Make sure you link back here.
Leave a comment on this post.
That is it!


 I took a stroll outside today to check on the garden after the terrible storm that rolled through last night. Everything seems to be doing well, especially the weeds.
 I made this one for a friends daughter.
 Simple creamy white.
 This website has instructions on how you can make your own upholstered headboard.
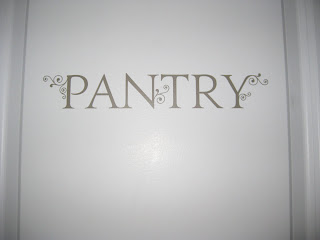
 There's no mistaking where the pantry is now.


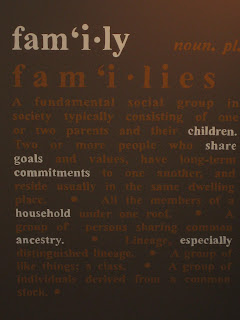
This would be an expensive decal. So I borrowed an overhead projector and hand painted it.


~Dianne~


Here is a very simple and yet budget friendly project using mirror tiles that you can get from any craft store. I got mine at Hobby Lobby while they were 50% off. The tiles ended up costing me about $50.00. Lay them out on a piece of 1/2" MDF. Make marks and cut the MDF to fit whatever size tiles you have. Paint the MDF and simply glue the tiles down with construction adhesive. There you have it!!! Something this size would cost twice as much in the store. I also hung pictures on top of the mirror to give it a layered look. Have fun with this one.

Here are the results after a little TLC and a lot of elbow grease.

~Dianne~
